The residue left behind after the fragrance has been dispelled can sometimes be a challenge to remove.
Ensuring a prolonged and enriched aromatic experience with wax melts not only involves knowing how to use them but also mastering the art of cleaning them efficiently. This is your quintessential guide to overcoming this challenge, ensuring that every fragrance session is as refreshing as a first.
Wax Melts: How to Clean
- Allow the Wax to Harden
Resist the urge to clean the wax while it’s still melted. Allow it to cool and harden; this makes the removal easier and prevents potential burns or spills.
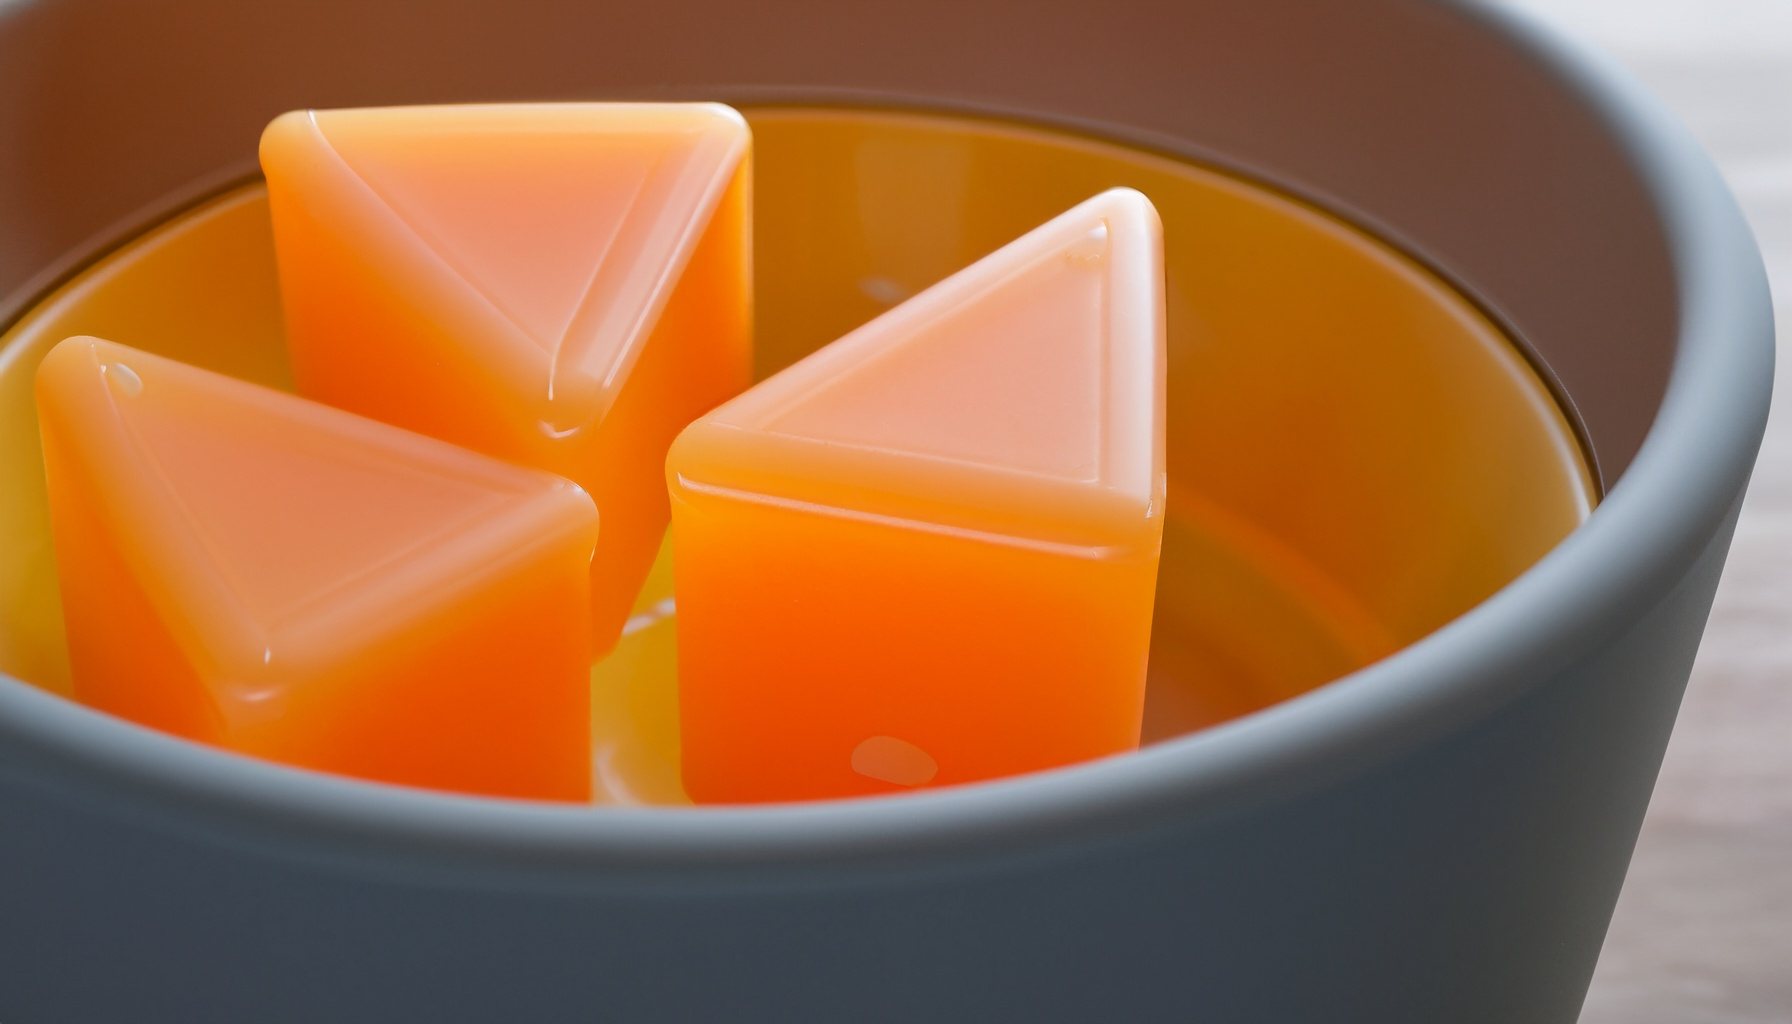
- Remove the Solidified Wax
For electric and plug-in warmers, unplug and let the unit cool. Use a butter knife or a spatula to gently loosen the wax. If it’s stubborn, turning on the warmer for a minute can make the wax easier to remove. For tealight warmers, place the top part in the freezer for about 10-15 minutes; the wax will contract and pop out effortlessly.
- Wipe with a Paper Towel
Once the bulk of the wax is out, there might be residue left. Wipe the bowl with a paper towel while it’s slightly warm (not hot) to remove the excess wax.
- Clean with Warm Soapy Water
Use a mixture of warm water and a few drops of dish soap to clean the bowl thoroughly. A soft cloth or sponge works best. Avoid abrasive scourers to prevent scratching the surface.
- Rinse and Dry
Rinse the bowl thoroughly to ensure no soap residue is left. Dry it completely before the next use to avoid any water mixing with the wax.
- Addressing Spills
If wax spills occur, let the wax harden, then scrape it off gently. Use a warm soapy cloth to clean the surface area, and then dry it completely.
A Note on Frequency
Cleaning frequency depends on your usage. It’s advisable to clean the warmer whenever you’re changing the wax to ensure the purity of the fragrance and the efficiency of the warmer.
Armed with these cleaning steps, every use of wax melts transforms into an aromatic journey, unmarred by residues of past use, a fresh beginning that wafts through your space, inviting relaxation, reflection, and serenity.
Back to the Wax Melts Help and Support Center
Written by Tony Bierman
Tony Bierman co-founded Candlecopia, a home fragrance company, in 2009. In addition to being a 15-year veteran of the home fragrance industry, Tony is also an author, an award-winning software developer, and an amateur photographer. In his spare time, you’ll find him hiking the woods of Roanoke Creek, with his camera and his dogs.
[…] also Wax Melts: How to Clean – A Step-by-Step Guide to Fresh Beginnings, Wax Melts […]
[…] also: Wax Melts: How to Clean – A Step-by-Step Guide to Fresh Beginnings, and How to Select the Perfect Wax Melts […]
[…] Wax Melts: How to Clean – A Step-by-Step Guide to Fresh BeginningsArmed with these cleaning steps, you’ll have a prolonged and enriched aromatic experience with wax melts. […]
[…] The type of wax warmer and its temperature settings can also influence how long the wax melts last. A higher temperature results in a more intense but often shorter-lived aroma, while a lower setting can prolong the fragrance release, offering a subtler scent experience. See also: Wax Melts: How to Clean – A Step-by-Step Guide to Fresh Beginnings […]