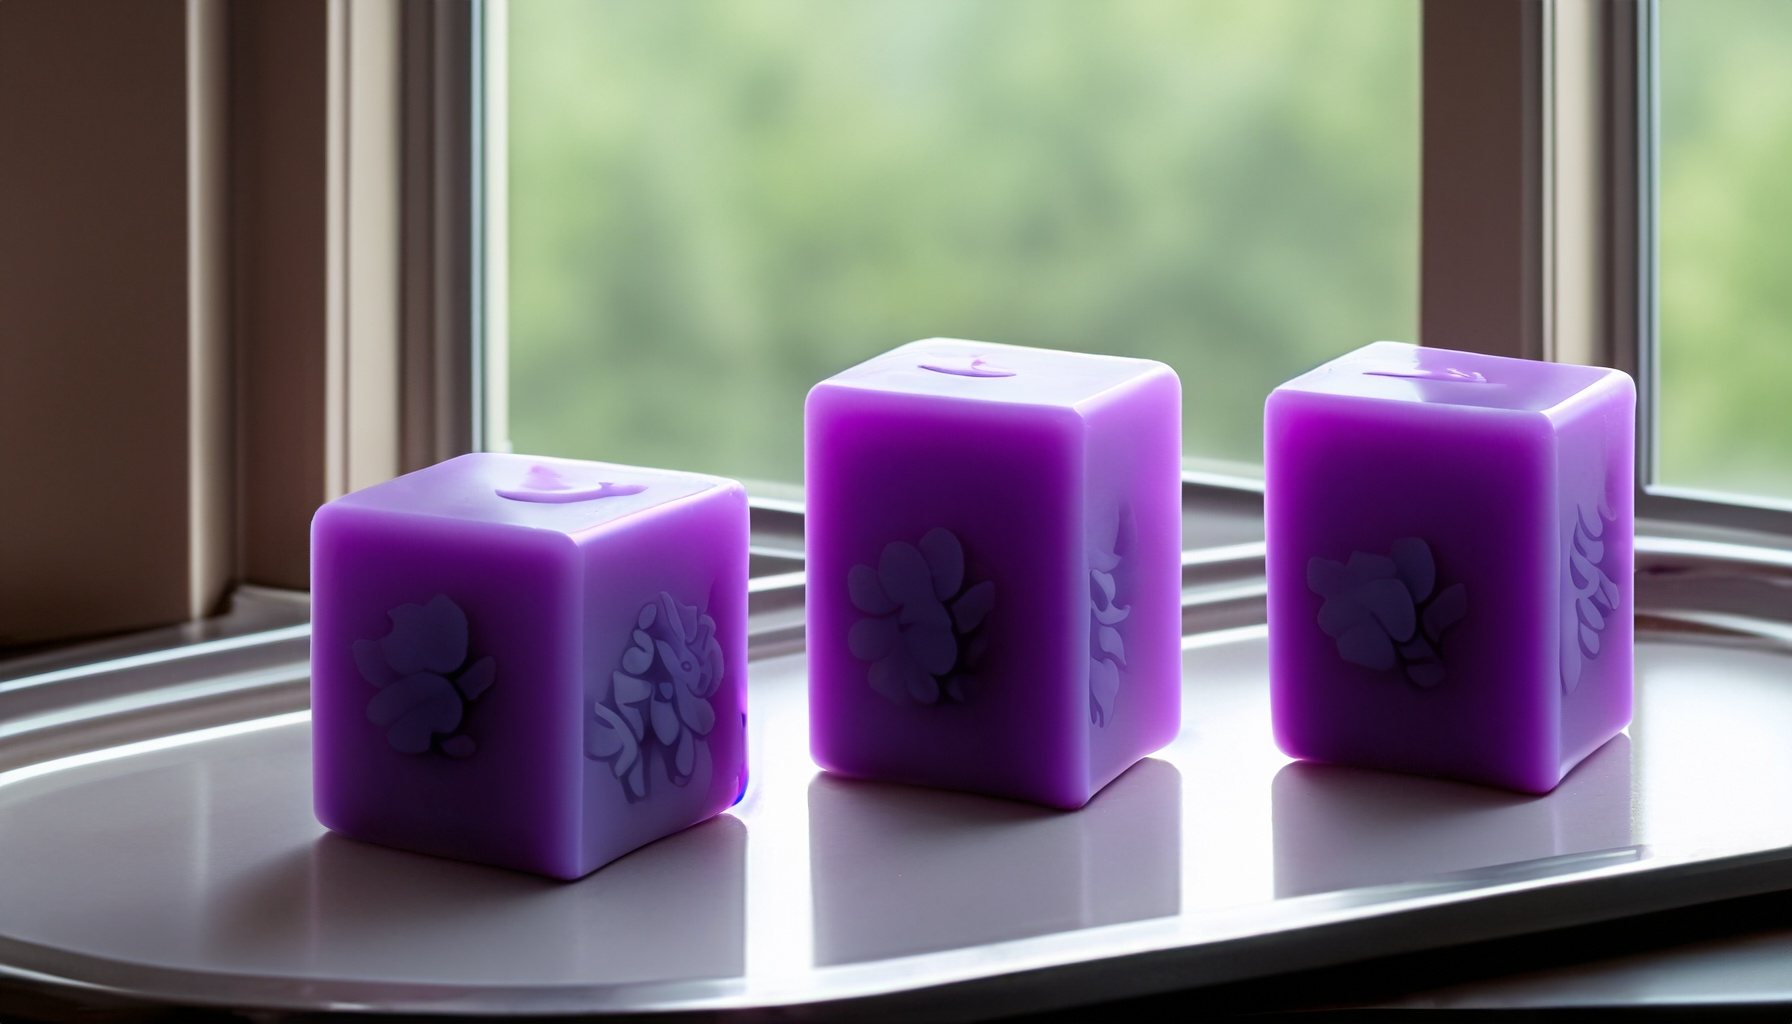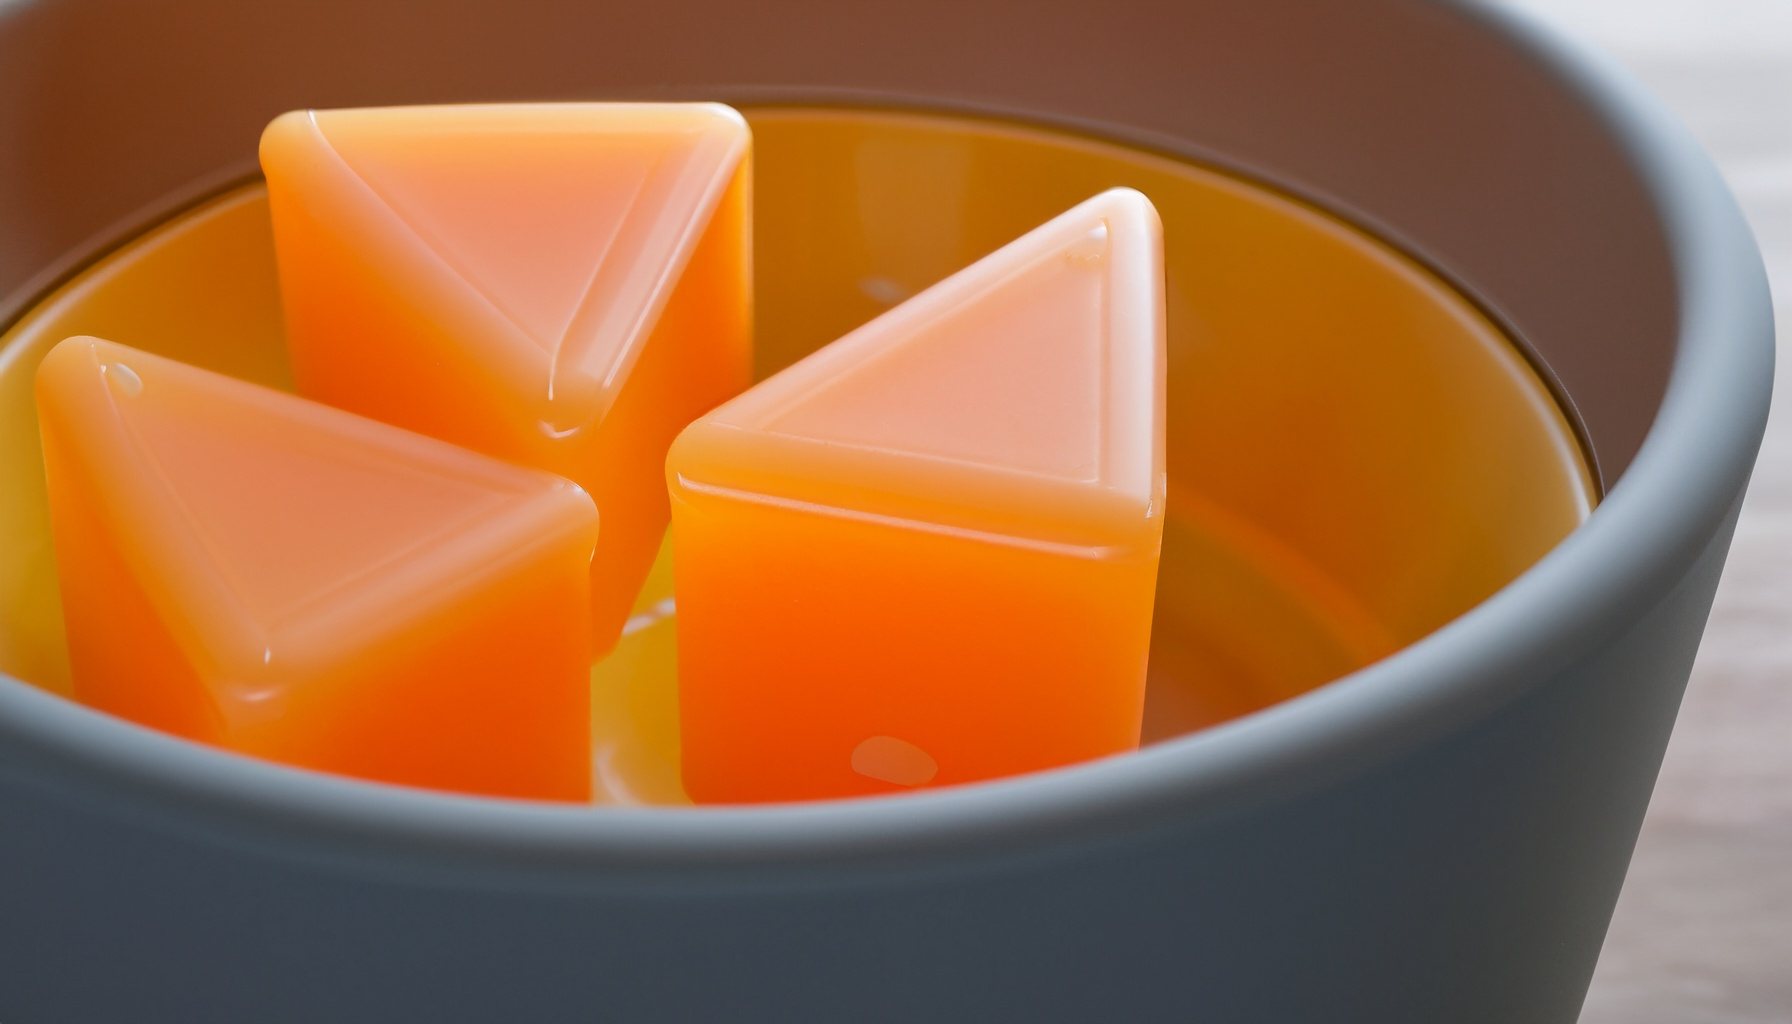
We’ve curated a comprehensive beginner’s guide that’ll not only introduce you to wax melts but also guide you on how to infuse your home with captivating aromas safely and efficiently.
What Are Wax Melts?
Wax melts, also known as wax tarts, are scented pieces of wax without a wick. They’re meant to be melted in a wax warmer to release their fragrance, providing an alternative to traditional candles for scenting your spaces.
Types of Wax Melts:
Soy Wax Melts – Known for their eco-friendly and clean-burning properties.
Paraffin Wax Melts – Popular for their strong scent throw and smooth texture.
Beeswax Melts – Celebrated for their natural composition and air-purifying qualities.
The Basic Setup:
You’d need two primary items to get started – wax melts and a wax warmer. Simply place the wax melt in the warmer, and as it heats, the fragrance fills your home.
Choosing Your Fragrances:
From floral to fruity, spicy to woody, there’s a vast spectrum of fragrances to choose from. Consider factors like the room size, occasion, and personal preferences when selecting scents.
Safety First:
Always ensure that the wax warmer is placed on a stable, heat-resistant surface. Keep it away from children, pets, and flammable objects.
How to Use Wax Melts:
- Select Your Wax Melt: Choose a fragrance that suits your mood or occasion.
- Place it in the Wax Warmer: Ensure the warmer is clean and dry.
- Turn on the Warmer: The wax will melt, and the aroma will begin to spread.
- Enjoy the Ambiance: Relax and soak in the delightful fragrance.
- Switch Off the Warmer: Do this once you’re done, allowing the wax to solidify for next use.
Tips for Optimal Use:
- Scent Layering: Mix different wax melt fragrances to create a unique aroma.
- Wax Removal: Freeze the solidified wax for a few minutes to make removal easier.
- Warmer Cleaning: Clean your warmer regularly to prevent fragrance mix-up and ensure efficiency.
Savor the Sensory Experience:
Wax melts are more than just aromatic entities; they are doorways to memories, moods, and moments. Each fragrance has the power to evoke emotions, create atmospheres, and transform spaces.
Frequently Asked Questions:
- How Long Do Wax Melts Last? Typically, a wax melt can last for 8–10 hours, but it largely depends on the wax type, fragrance oil, and warmer used.
- Are Wax Melts Safe? Yes, when used according to the manufacturer’s guidelines. They offer a flameless alternative to candles, reducing the risk associated with open flames.
Welcome aboard the fragrant journey, where each melt and aroma unfolds a chapter of comfort, luxury, and serenity.
Happy melting!

