Posted on 1 Comment

Wax Melts 101: A Beginner’s Guide to a Fragrant Home

We’ve curated a comprehensive beginner’s guide that’ll not only introduce you to wax melts but also guide you on how to infuse your home with captivating aromas safely and efficiently.

What Are Wax Melts?

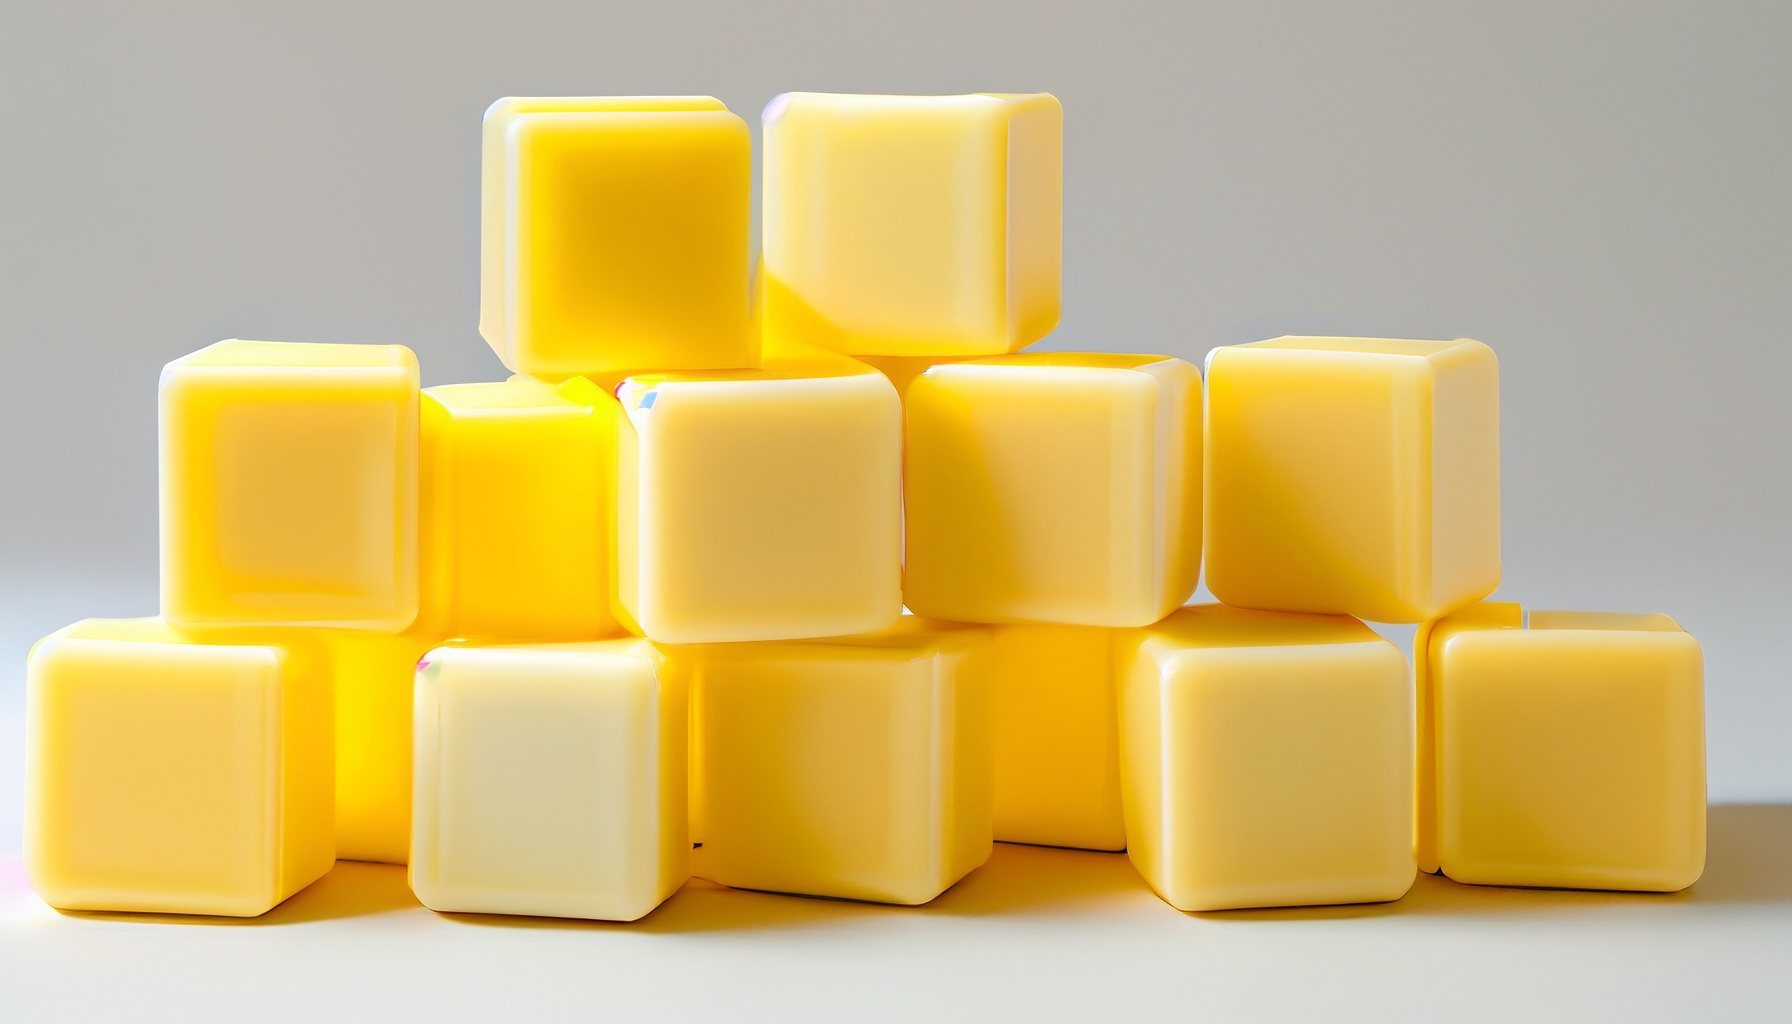
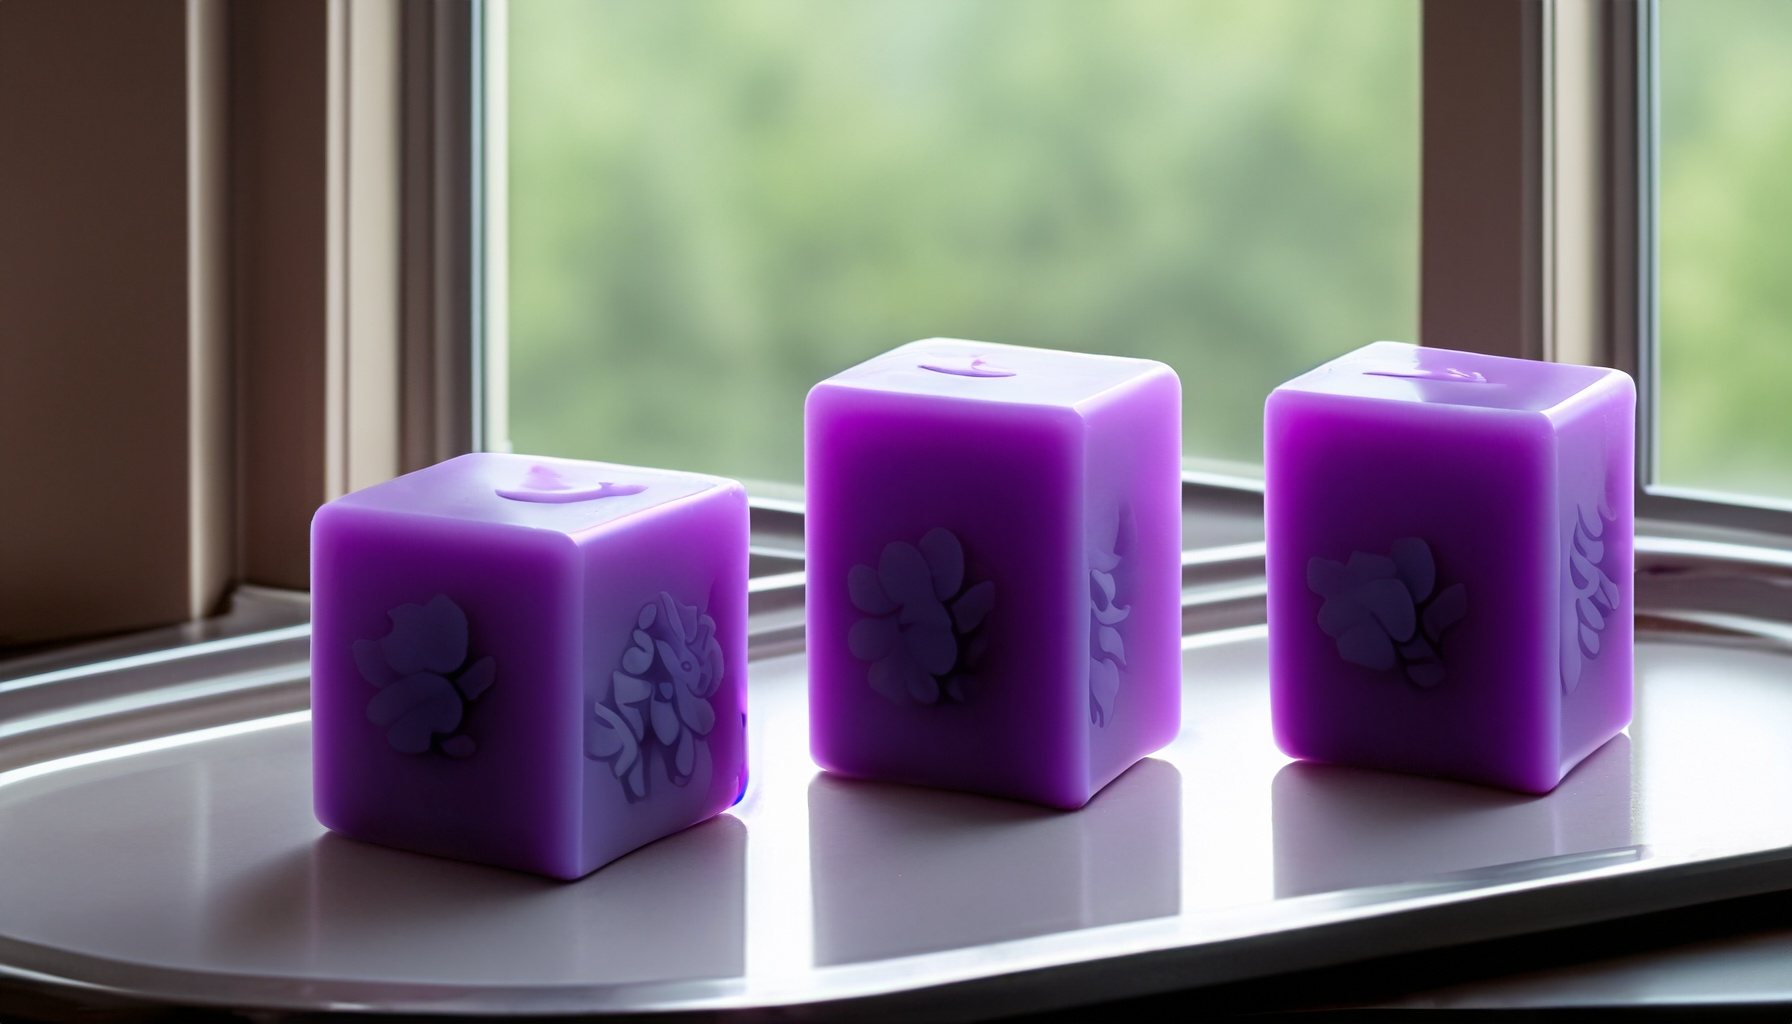
Wax melts, also known as wax tarts, are scented pieces of wax without a wick. They’re meant to be melted in a wax warmer to release their fragrance, providing an alternative to traditional candles for scenting your spaces.

Types of Wax Melts:

Soy Wax Melts – Known for their eco-friendly and clean-burning properties.
Paraffin Wax Melts – Popular for their strong scent throw and smooth texture.
Beeswax Melts – Celebrated for their natural composition and air-purifying qualities.

The Basic Setup:

You’d need two primary items to get started – wax melts and a wax warmer. Simply place the wax melt in the warmer, and as it heats, the fragrance fills your home.

Choosing Your Fragrances:

From floral to fruity, spicy to woody, there’s a vast spectrum of fragrances to choose from. Consider factors like the room size, occasion, and personal preferences when selecting scents.

Safety First:

Always ensure that the wax warmer is placed on a stable, heat-resistant surface. Keep it away from children, pets, and flammable objects.

How to Use Wax Melts:

  1. Select Your Wax Melt: Choose a fragrance that suits your mood or occasion.
  2. Place it in the Wax Warmer: Ensure the warmer is clean and dry.
  3. Turn on the Warmer: The wax will melt, and the aroma will begin to spread.
  4. Enjoy the Ambiance: Relax and soak in the delightful fragrance.
  5. Switch Off the Warmer: Do this once you’re done, allowing the wax to solidify for next use.

Tips for Optimal Use:

  • Scent Layering: Mix different wax melt fragrances to create a unique aroma.
  • Wax Removal: Freeze the solidified wax for a few minutes to make removal easier.
  • Warmer Cleaning: Clean your warmer regularly to prevent fragrance mix-up and ensure efficiency.

Savor the Sensory Experience:

Wax melts are more than just aromatic entities; they are doorways to memories, moods, and moments. Each fragrance has the power to evoke emotions, create atmospheres, and transform spaces.

Frequently Asked Questions:

  • How Long Do Wax Melts Last? Typically, a wax melt can last for 8–10 hours, but it largely depends on the wax type, fragrance oil, and warmer used.
  • Are Wax Melts Safe? Yes, when used according to the manufacturer’s guidelines. They offer a flameless alternative to candles, reducing the risk associated with open flames.

Welcome aboard the fragrant journey, where each melt and aroma unfolds a chapter of comfort, luxury, and serenity.

Happy melting!

Posted on 3 Comments

Wax Melts: How to Use – A Step-by-Step Guide

By following these steps, you’ll be well on your way to maximizing your aromatic experience with wax melts, inviting a world of delightful fragrances into your home with ease and safety.

If you’re new to this world or looking to refine your approach, this guide on how to use wax melts will escort you through each step with simplicity and clarity.

  1. Choosing Your Wax Melts

    The first step commences with selecting your preferred wax melts. The market teems with a plethora of options, from rich, earthy fragrances to light, floral notes, and choosing a scent that resonates with your preferences is paramount. Always look for quality products, considering factors like natural ingredients and eco-friendliness if they align with your values.

  2. Setting Up the Wax Warmer

    A wax warmer is your companion in this aromatic escapade. Ensure it’s clean and positioned on a flat, heat-resistant surface away from flammable items. There are various types of wax warmers available – electric, tealight, and plug-in – choose one that best suits your needs and safety considerations.

  3. Placing the Wax Melt

    Place a wax melt in the warmer’s bowl. Be cautious not to overfill it; one or two wax melts are often sufficient to fill your space with a captivating aroma. If you are feeling adventurous, you can experiment by combining different scented wax melts to create a unique, personalized fragrance.

  4. Turning On the Warmer

    For electric or plug-in warmers, turn them on, and for tealight warmers, light the candle beneath the bowl. As the wax melt warms up, it releases its fragrance, permeating your space with an inviting aroma.

  5. Enjoying the Ambiance

    Allow yourself to be immersed in the enriching fragrance that fills your room. Wax melts are known for their robust scent throw, making them a favorite for those looking to achieve an intense aromatic experience.

  6. Safety First

    Never leave a wax warmer unattended, especially those using tealights. Keep it out of reach of children and pets. When the wax melt’s fragrance dissipates, it’s time to change it. Ensure the warmer is turned off and completely cool before handling.

  7. Changing the Wax Melt

    Once the fragrance has dissipated, turn off and unplug the warmer, allowing the wax to cool and harden. To remove the wax, apply gentle pressure; it should pop out easily. If it doesn’t, placing the warmer in the freezer for a short time can make removal easier.