By following these steps, you’ll be well on your way to maximizing your aromatic experience with wax melts, inviting a world of delightful fragrances into your home with ease and safety.
If you’re new to this world or looking to refine your approach, this guide on how to use wax melts will escort you through each step with simplicity and clarity.
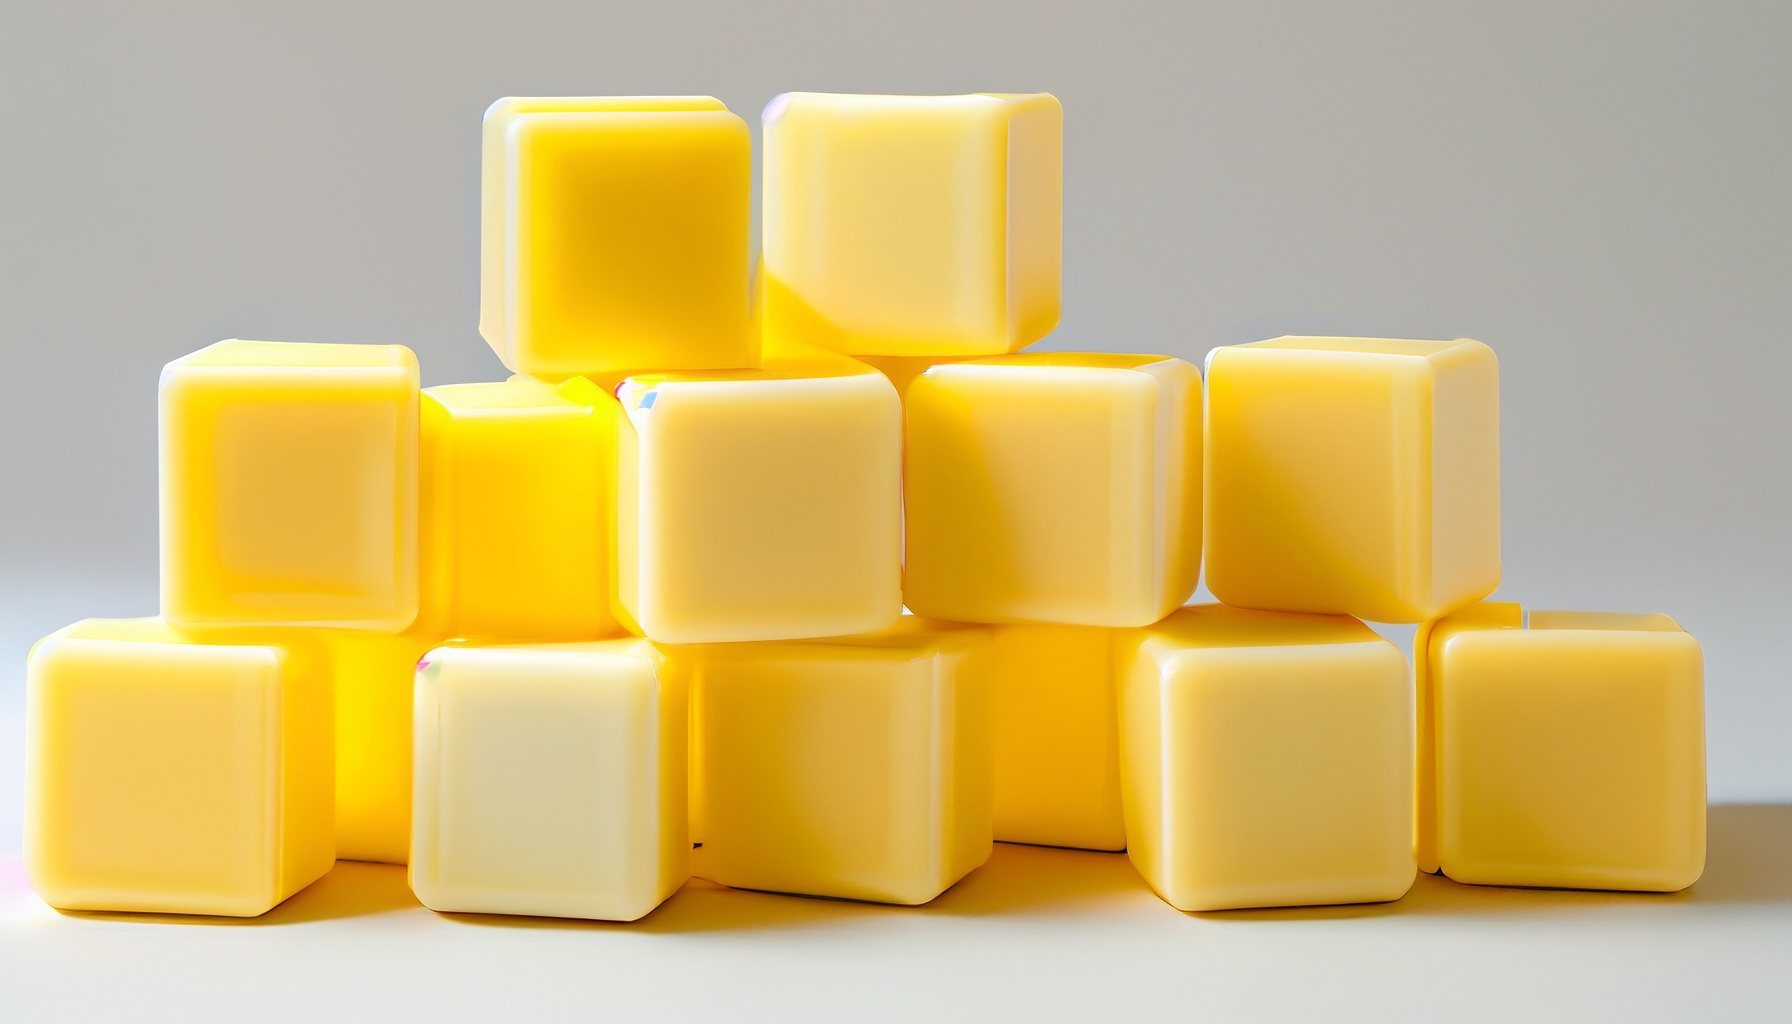
- Choosing Your Wax Melts
The first step commences with selecting your preferred wax melts. The market teems with a plethora of options, from rich, earthy fragrances to light, floral notes, and choosing a scent that resonates with your preferences is paramount. Always look for quality products, considering factors like natural ingredients and eco-friendliness if they align with your values.
- Setting Up the Wax Warmer
A wax warmer is your companion in this aromatic escapade. Ensure it’s clean and positioned on a flat, heat-resistant surface away from flammable items. There are various types of wax warmers available – electric, tealight, and plug-in – choose one that best suits your needs and safety considerations.
- Placing the Wax Melt
Place a wax melt in the warmer’s bowl. Be cautious not to overfill it; one or two wax melts are often sufficient to fill your space with a captivating aroma. If you are feeling adventurous, you can experiment by combining different scented wax melts to create a unique, personalized fragrance.
- Turning On the Warmer
For electric or plug-in warmers, turn them on, and for tealight warmers, light the candle beneath the bowl. As the wax melt warms up, it releases its fragrance, permeating your space with an inviting aroma.
- Enjoying the Ambiance
Allow yourself to be immersed in the enriching fragrance that fills your room. Wax melts are known for their robust scent throw, making them a favorite for those looking to achieve an intense aromatic experience.
- Safety First
Never leave a wax warmer unattended, especially those using tealights. Keep it out of reach of children and pets. When the wax melt’s fragrance dissipates, it’s time to change it. Ensure the warmer is turned off and completely cool before handling.
- Changing the Wax Melt
Once the fragrance has dissipated, turn off and unplug the warmer, allowing the wax to cool and harden. To remove the wax, apply gentle pressure; it should pop out easily. If it doesn’t, placing the warmer in the freezer for a short time can make removal easier.
Back to the Wax Melts Help and Support Center
Written by Tony Bierman
Tony Bierman co-founded Candlecopia, a home fragrance company, in 2009. In addition to being a 15-year veteran of the home fragrance industry, Tony is also an author, an award-winning software developer, and an amateur photographer. In his spare time, you’ll find him hiking the woods of Roanoke Creek, with his camera and his dogs.
[…] Wax Melts: How to Use – A Comprehensive GuideBy following these steps, you’ll be well on your way to maximizing your aromatic experience with wax melts. […]
[…] Soy wax melts are typically used with a wax warmer. The melts are placed into the warming dish, and as the warmer heats up, the wax melts and releases its fragrance. See also: Wax Melts: How to Use – A Step-by-Step Guide […]
[…] Place a wax melt in the top of a wax warmer, and turn the warmer on. The heat will melt the wax, releasing the fragrance into the air. Always follow the manufacturer’s instructions on both the melts and the warmers to ensure safe and effective use. See also: Wax Melts: How to Use – A Step-by-Step Guide […]